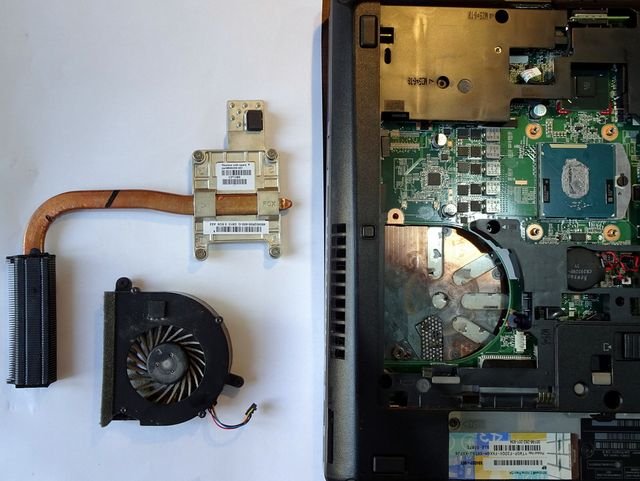
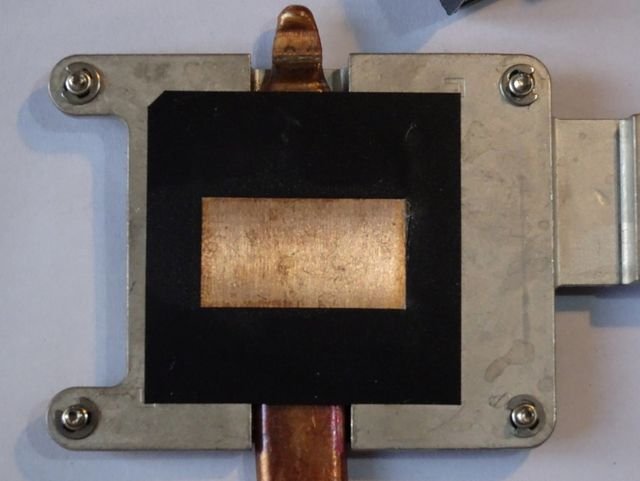
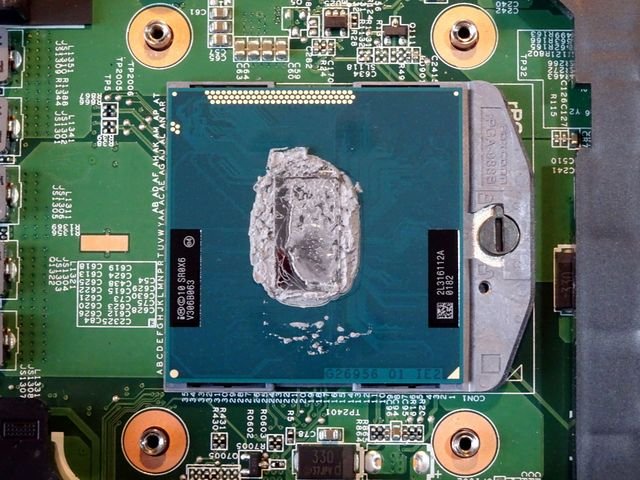
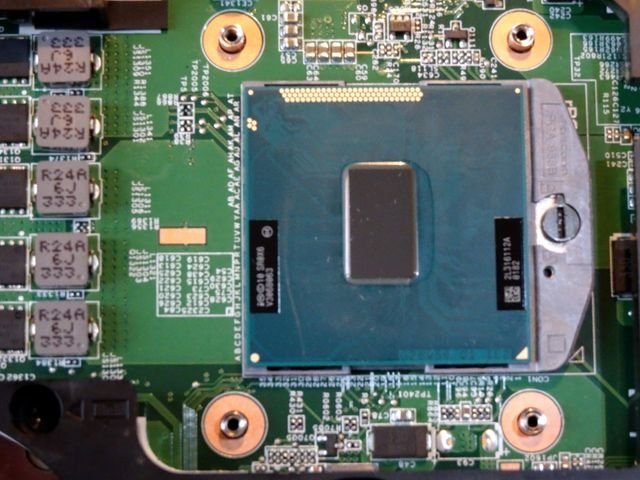
HP ProBook 6570b fan and heat sink
Jump to navigation
Jump to search
Problem: High CPU temps and max fan activity
Solutions:
- - Clean fan and refresh thermal paste
- - Dial back max CPU performance from 100% to 80%
- 1. Unplug power and remove battery
- 2. Slide cover lock to the left
- The cover will creep toward the rear of the case when you push the latch all the way to the left. Push the cover a little further, then lift it up and away.
- 3. Loosen the three screws that hold the fan
- Two are on the left, near the edge of the case. The third is on the opposite side of the fan.
- 4. Loosen the four screws that hold the heat sink to the CPU
- 5. Unplug the fan from the motherboard and wiggle the fan out.
- 6. Lift the heat sink away from the CPU
- Just lift it enough to break free the heat sink from the old thermal paste.
- 7. Pull the heat sink and the radiator to the right until the radiator is free from the case.
- 8. Clean the old thermal paste from the heat sink and the CPU
- I used dry tissues because I do not have any isopropyl alcohol or WD 40 with me.
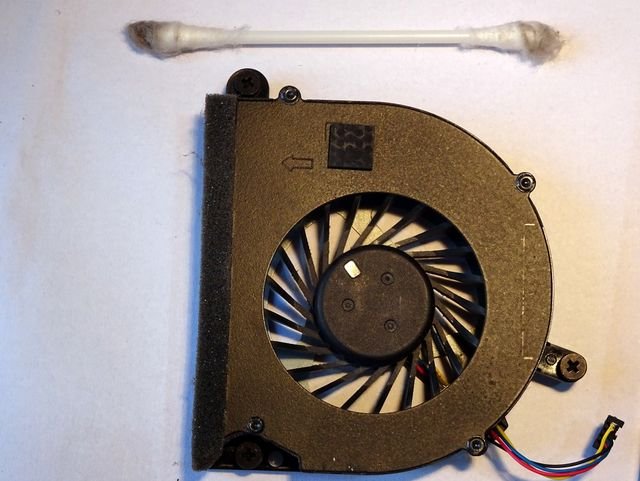
- 9. Clean the radiator and the fan.
- I washed the radiator with Windex and dried it with a hair dryer.
- I used a cotton swab to clean the dust from the fan.
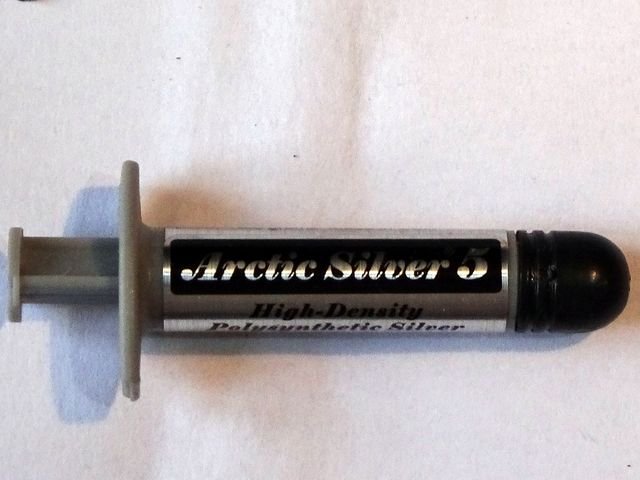
- 10. Put some thermal paste on the CPU
- Opinions vary about how much to use and whether or how to spread the paste. I used a big blob that is way more than enough. I can tell from how the old thermal paste looked that the CPU carrier can handle the excess paste.
- 11. Slide the radiator back into the case without letting the heat sink touch the CPU
- I had to lift the radiator very slightly with my left hand to get it started in its slot. I could tell that it was back in place when the four screws on the heat sink were aligned with the threaded receptacles on the motherboard.
- We want to squish the thermal paste just once, then tighten the heat sink down. That is why it is good not to let the heat sink touch the blob of thermal paste while the radiator is being slid back where it belongs.
- 12. Press the heat sink against the CPU and tighten the four retaining screws.
- 13. Screw the fan back in place.
- 14. Plug the fan back into the motherboard.
- 15. Replace the cover and the battery.
Results
I was delighted to see how easy it is to get access to the fan and the CPU in the ProBook. It is a beautiful design, and now that it is running cooler, I have less anxiety about it failing any time soon. I have swapped the original HD for a big SSD, so that removes one mechanical point of failure.

